Making Drones

I spent about a month on the actual concept of what the game is about, designing the
key characters and events
The most important tool at this point was a pencil and paper! But I did some digital
sketches also.
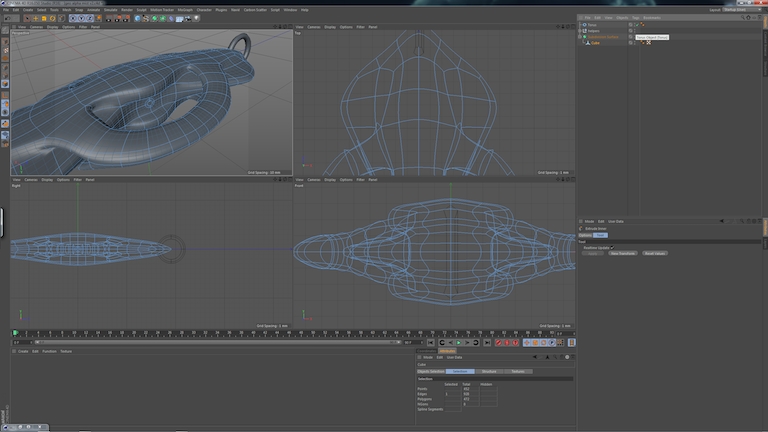
Once the design silhouette reads well I’d sign off on the process


icon-concepts

screenshot-2014-10-29-01-12-52

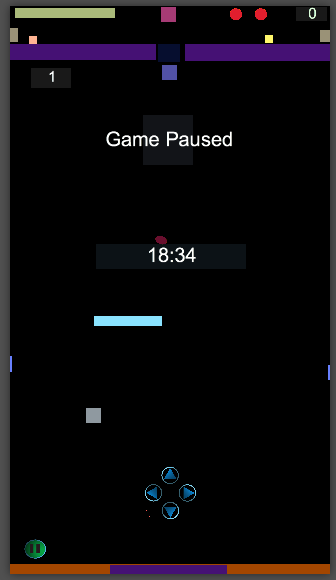
Gameplay and core mechanics
Having nailed down the designs it was on to the core mechanics and game play. I spent
another 3/4 weeks on logic flows for each of the outlined events that can happen during
the game. Again this was done just using pen and paper and I can’t stress how critical
this was before writing a single line of scripts/code
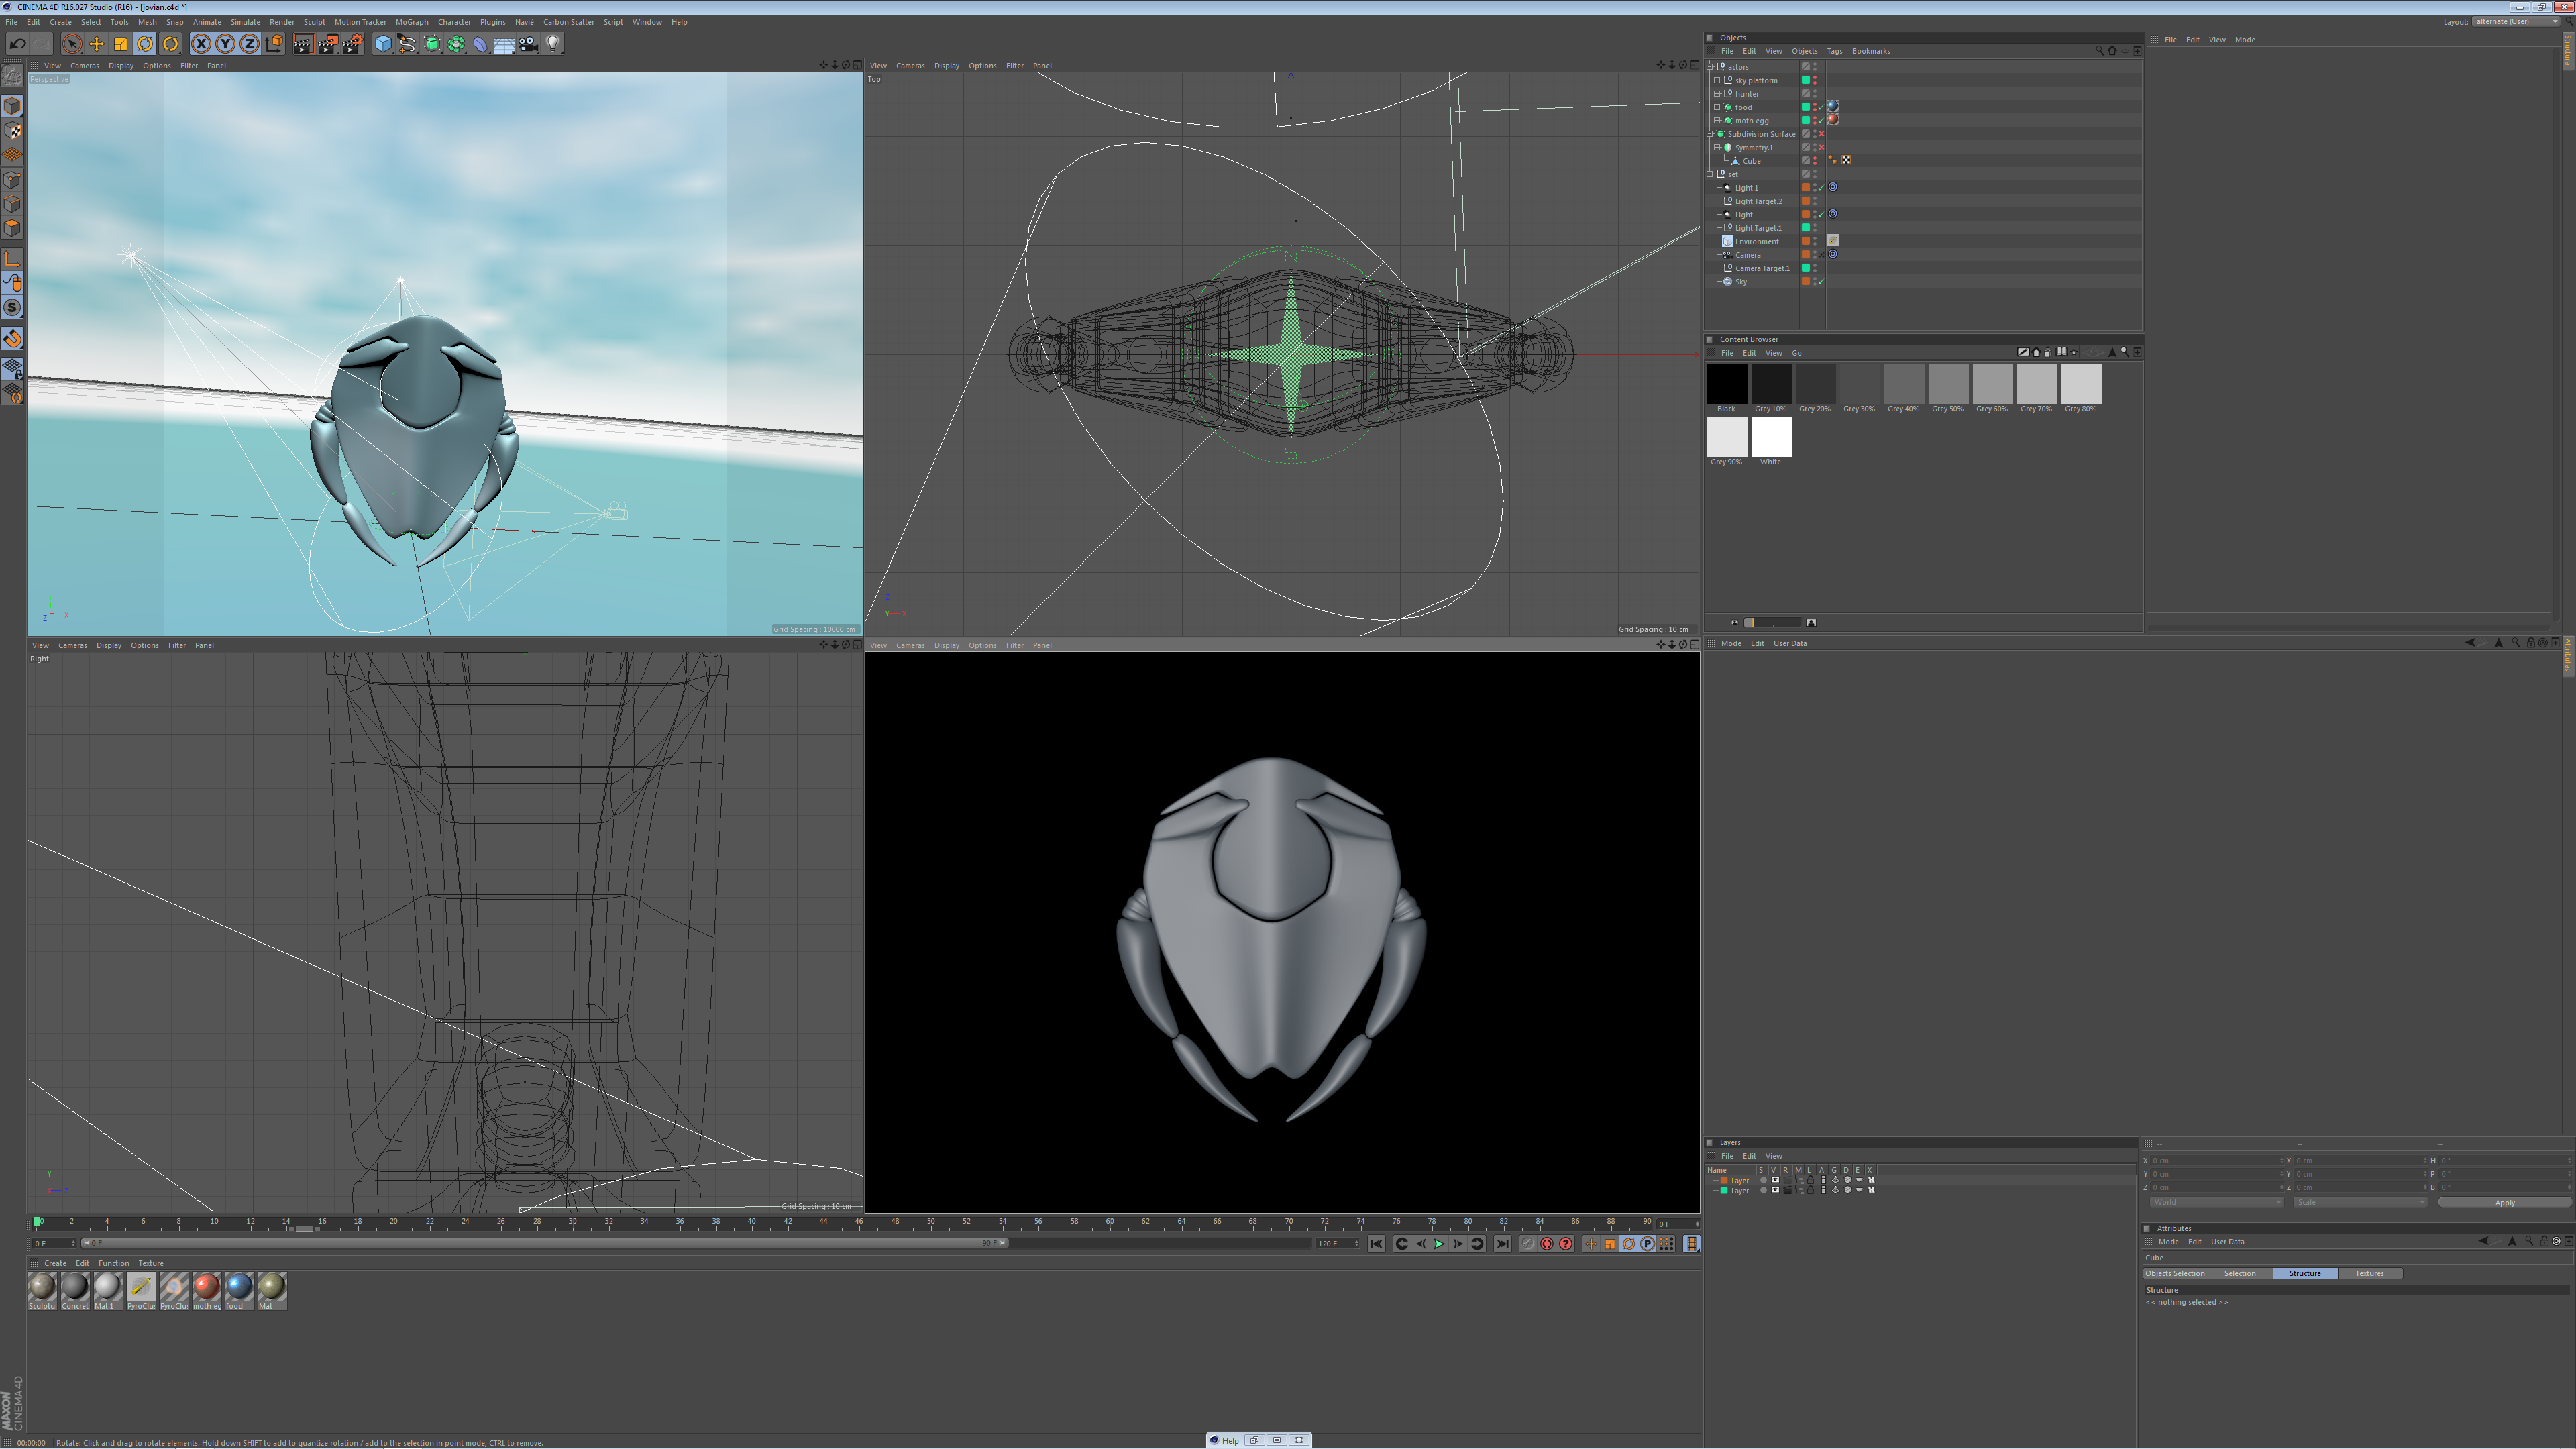
20150308_160728

Prototyping
OK.. because I gave careful attention to the previous steps this went fairly smoothly. I
found some annoying/silly limitations with the software but I found workarounds for
about 80% of them (hence my comments before about matching 80%)
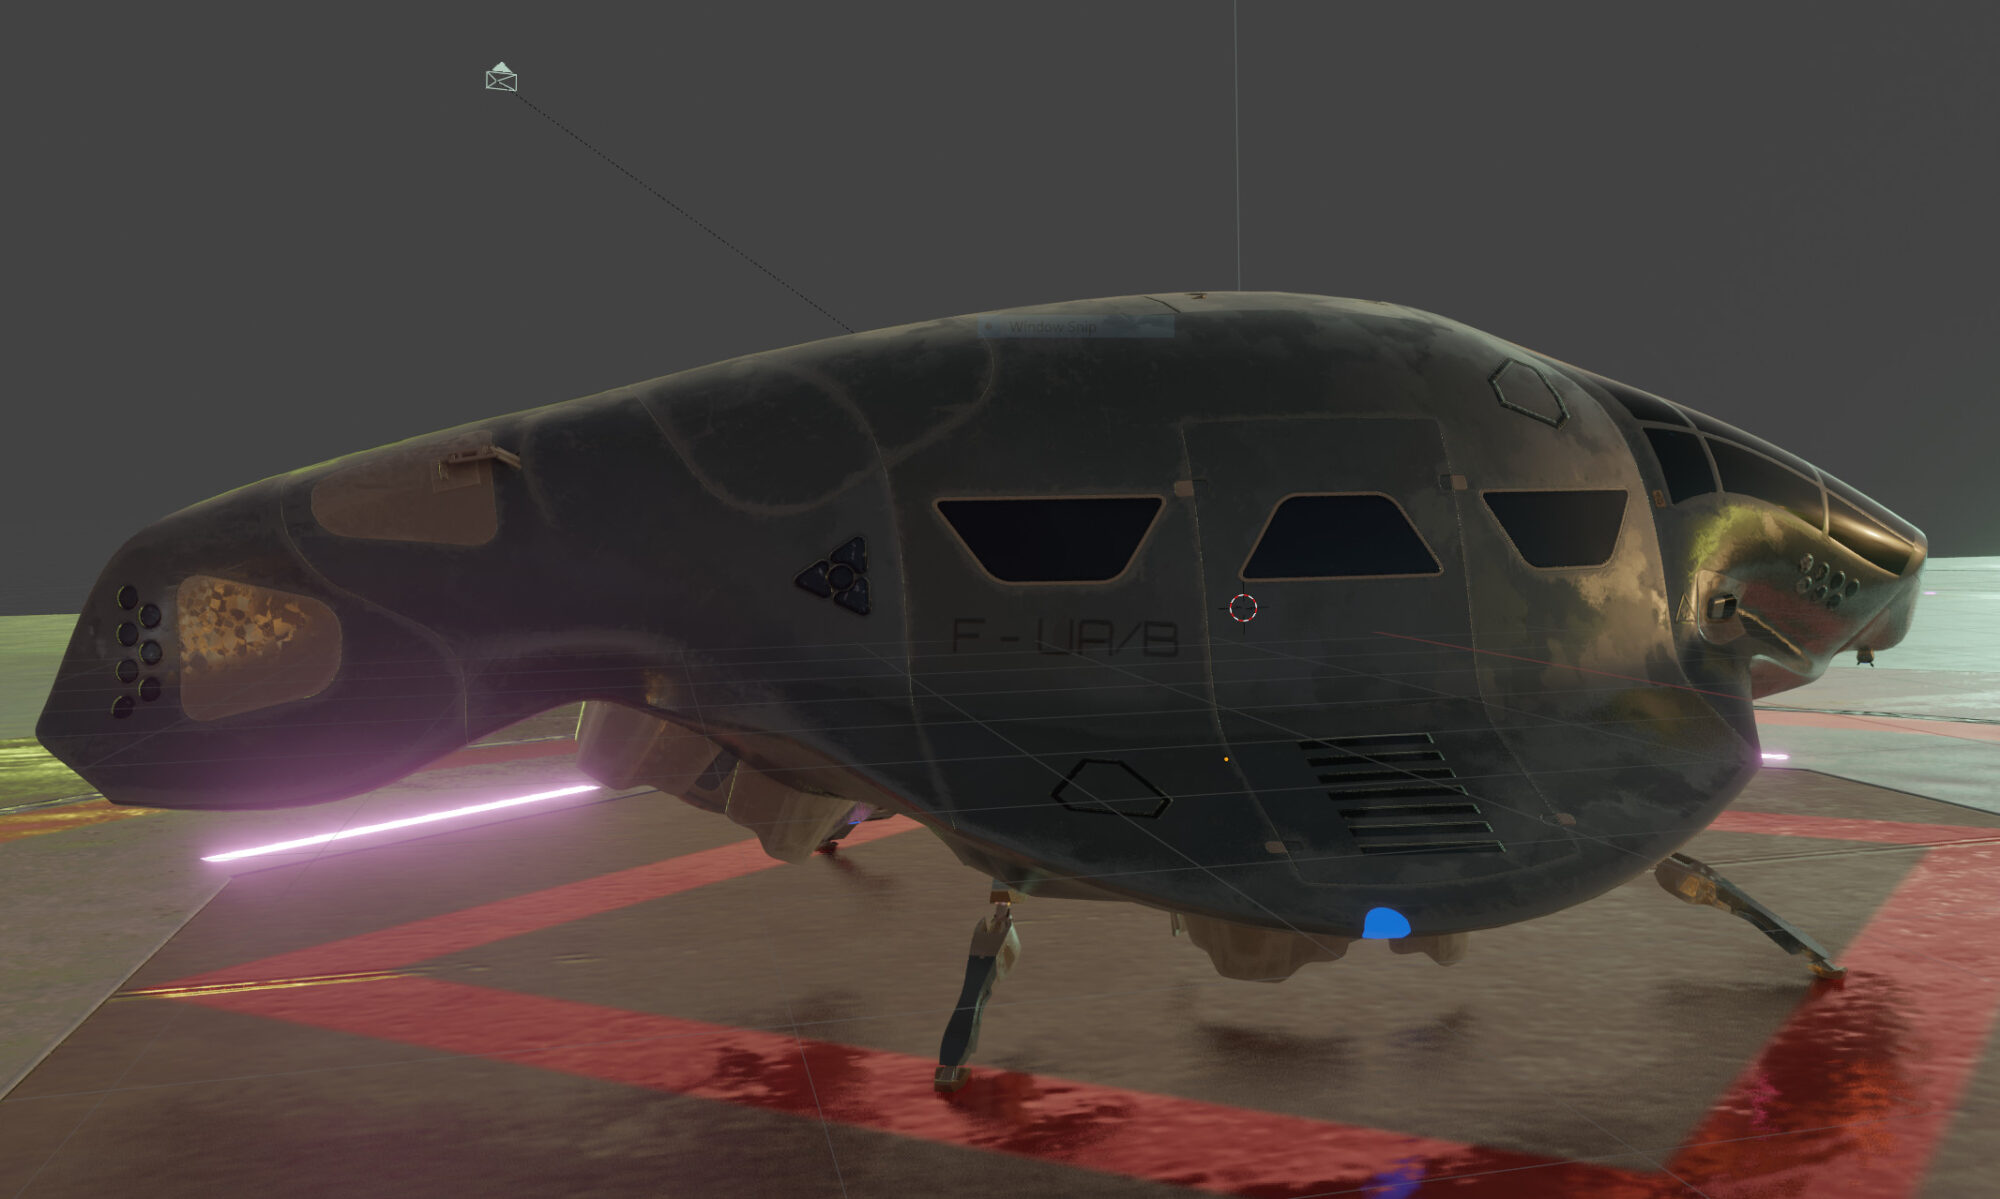
I did make one costly mistake here: as I swapped in the real graphics for the proxies the
performance nose-dived. It wasn’t possible to accurately simulate the target devices so I
had to scale back the graphics/effects based on the physical devices I could get my
hands on – not a satisfactory solution but it was all I had.
Writing and adding the music was fun! I found it a great way to opening my mind to
finding lateral solutions

screenshot-2014-08-24-14-58-31


I didn’t realize it would be such a cathartic process creating a game: from concept to
finished product.
Don’t get me wrong there were times I found it infuriating as I tried to navigate the
schism between my imagination and what the tools can actually achieve however the
finished product is indeed something that matches about 80% of my original concept
and is something I am proud of

Geo Alpha Series

I managed to create my first batch ahead of schedule..somehow!?
This series is all jewelry based and called the Geo Alpha Series. (Why that name – well
it just stuck in my head!)
As for the shapes I knew I wanted a heart motif to be part of the design and possibly the
dp logo. The rest of the design was kept open and fluidic 😉
For efficiency I try to model with symmetry modifiers.

jewelery

Near the end of the design I’ll start to see how to model looks with a sub divided
modifier. I also use the measuring tool a lot to recheck dimensions.
Very important due to real world material constraints (minimum Wall thickness, minimum
wire thickness, etc)

pasted-graphic-1
The Geo Alpha Vapour design proved to be quite tricky due to the thinness of the ‘loop’ over the ‘wings’ Had to rework this design several times.


pasted-graphic-2

The Geo Alpha Dewdrop design was the most complicated but the work went smoothly
as I planned most of it out beforehand.


pasted-graphic-3
I started off with the dp logo as a spline and converted it into a 2D polygon. At that point I used an array modified to form a circular shape


pasted-graphic-4
I continued to add the connecting parts, not worrying about the teardrop shape as that would come later


After all the elements were present I applied a matrix modifier to get that nice teardrop
shape. I also extruded for thickness
pasted-graphic-5

Tea Light

Here are a few basic Renders from the Tea light project.
It comes in two pieces :

tealight-open-daylight
here it is disassembled
tealight-light-close
And here assembled


As always it a challenge balancing: the minimum material that you can use; material
constraints; stress areas; and make it look cool 🙂
The minimum hull thickness for the four ‘arms’ was tough but I managed it.

Building Cities

So.. How do you build a city?
I suppose you can do it brick by brick if you’ve got time and resources but what if you’re
just one person? Well you can do what I did and use a really cool Add-on for Blender
called Scene City to help you with that task
It doesn’t take too long to get the basic layout generated and after a few false starts I
started to get something that looked quite pleasing.

screenshot-2016-05-02-16-07-58
I really love the reflective properties of the glass and the detail is more than sufficient for very close up views.

Blender and Cycles do a very good job with the rendering but I did have some problems
when exporting using FBX with the textures and materials. As a result I had to export
the OBJ to Cinema 4D then export from Cinema 4D as FBX. It was a minor fix and to be
honest I could have just used blender for the OBJ export – I probably will for my next
city.

Hard Surface crate

Ok I really like creating procedural materials (various advantages) however there are
times you just have to get your hands dirty with UV’ing and Texturing.
Below are the results of a hard surface texturing test in cinema 4D

screenshot-2016-02-26-13-49-25
I spent quite a bit of time making sure that topology was correct before thinking about UV’ing or texturing
screenshot-2016-02-28-21-43-31
Getting to grips with UV’ing
screenshot-2016-02-28-22-47-57
Started to have a bit of fun with layering dirt and wear

Making Shiruken T4

The only thing I knew about this tank is that I wanted it to hover, have a subliminal
Coleoptera look to it and use technology about 50 years from now.

screenshot-2016-04-27-14-37-21
Started with a general shape
screenshot-2016-04-28-10-55-51
screenshot-2016-05-06-16-04-15 It took a few attempts to get my boolean technique right but the general method was to slice a 3d shape out of the main mesh then work on that shape without modifying the border between the meshes. This way I got better control over the topology

screenshot-2016-04-28-10-57-10

here are few parts
screenshot-2016-05-01-20-55-07 screenshot-2016-05-06-16-04-15


screenshot-2016-05-12-01-13-02
Started to work on basic materials and textures.
screenshot-2016-05-15-01-28-13
And here it is close to it’s finished form 🙂

Making Male Hoodie

OK I’m getting a nicer flow with MD so I decided to tackle a kind of Hooded tracksuit I
sketched out

screenshot-2016-05-24-17-51-01
I was much more efficient laying down the patterns this time. The only real challenging part was the hood.


screenshot-2016-05-25-11-57-57
Once that was done it was just a question of adding a design motif to the outfit which didn’t deviate much from my original 2d concept.
screenshot-2016-05-26-23-57-44
And here’s the final MD version ready to export and add detailed materials to. This can be done in MD but I find it much easier to rapid prototype in Cinema

Female Dress Suit

I always wanted to design nice clothing: stylish; cool looking; desirable. so I sat down using Cinema 4D and (then later Blender) to design clothing that would be worthy of any catwalk in Paris, Milan or London.

After the 14th version I realized that I just wasn’t achieving that authentic look using either of the above applications.. not without a hell of a lot of tweaking which equated to time I didn’t have.
So I bit the bullet and said okay let’s see if there’s an app that specializes clothes
design.
There was one that floated to the top of a very short list called Marvelous Designer. Below is the output of my first attempts to create a female dress suit using version five

screenshot-2016-01-27-16-06-13
Here are my first trousers after learning that darts wasn’t something just for throwing at a board in an English pub
screenshot-2016-03-05-19-42-38
Having finished the trousers and shirts I started to add details such pockets, belts, buttons etc..

As my knowledge and confidence grew (heck now that I knew what darts were – and
how to use them I was unstoppable!) I tried to add a design motif to the shirt and later
trousers.

screenshot-2016-03-06-19-49-27

Here I am playing with texturing (using procedural materials designed in Cinema 4D)
the patterns. I found Marvelous Designer less than intuitive when it comes handling
UV’ing and texturing, so for future projects I’ll execute this phase in my 3D app which is
sometimes Blender and other times Cinema 4D.

fds-a-pose-full

fds-hips-side-close
Here’s the finished shirt and trousers rendered in Cinema 4D with procedural materials only

Making Fluidic Pulse

Been playing with Cinema 4D’s Mograph module to create some motion graphics.
one point to note is that the wavy floor effect is controlled and ‘Driven’ by the intensity of
the search light’s Visibility Brightness value – was easy to set up

screenshot-2016-06-23-14-53-59

It’s actually fun to use effects on top of each other but I did learn the following along the
way:
Keep geometry simple – to help with workspace speed
You don’t need that high a anti-aliasing setting if using sub frame motion blur
Going to use the ‘Make Preview – Hardware’ function a LOT more before rendering!
As with all my projects I learn a lot along the way, as I never know how I’m going solve
my sometimes crazy ideas 🙂

Motion Graphics and Simulations

Finally got round to creating some fluid simulations and motion graphics – I ended up configuring a render farm to help with the processing for the simulation work

The floor ripple effect is directly proportional to the light intensity


Hammerhead shark water simulation