This was the one: The project that was going to break me. I knew I was taking on a lot of new skills to do this one but honestly didn’t know how little I knew.
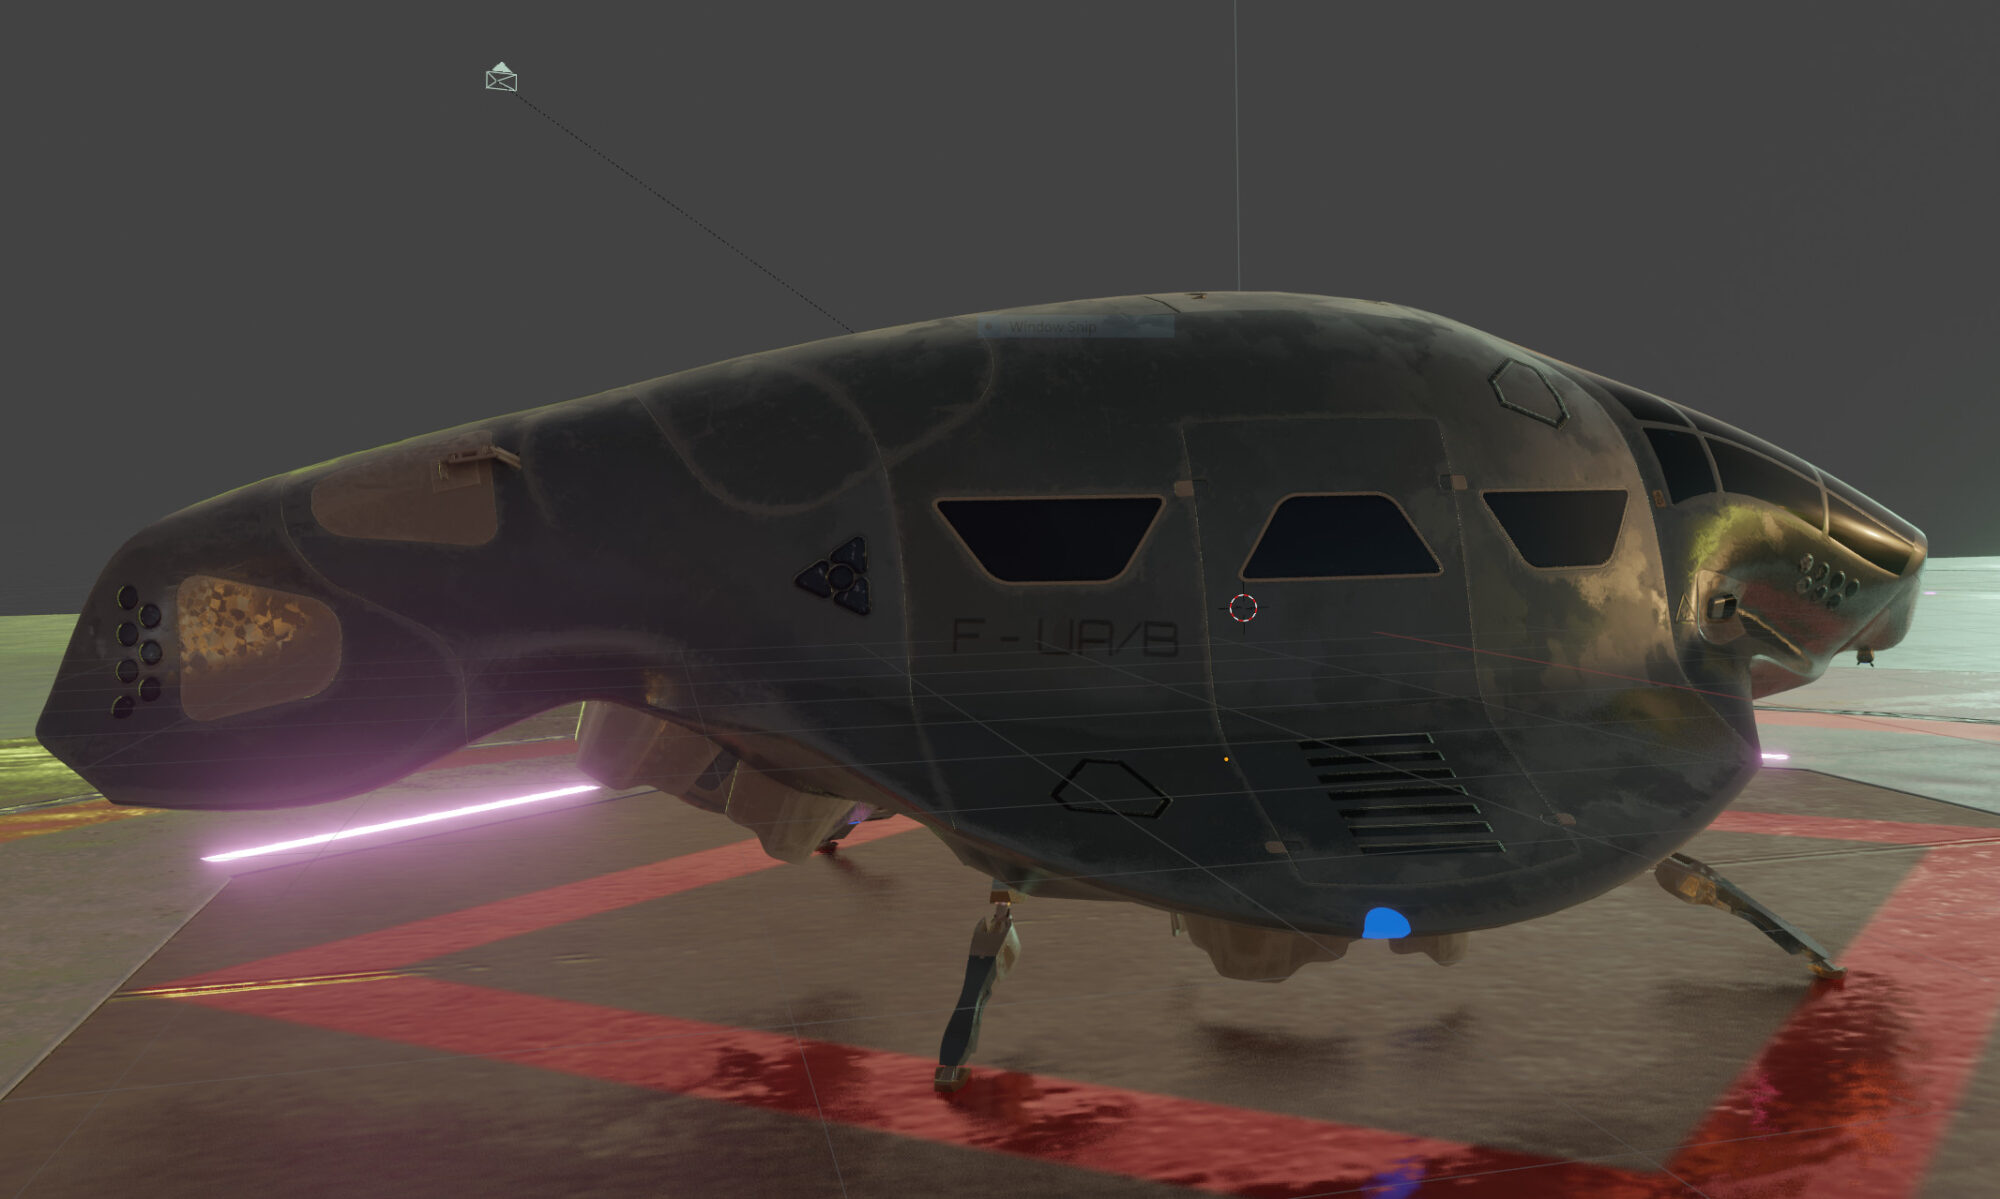
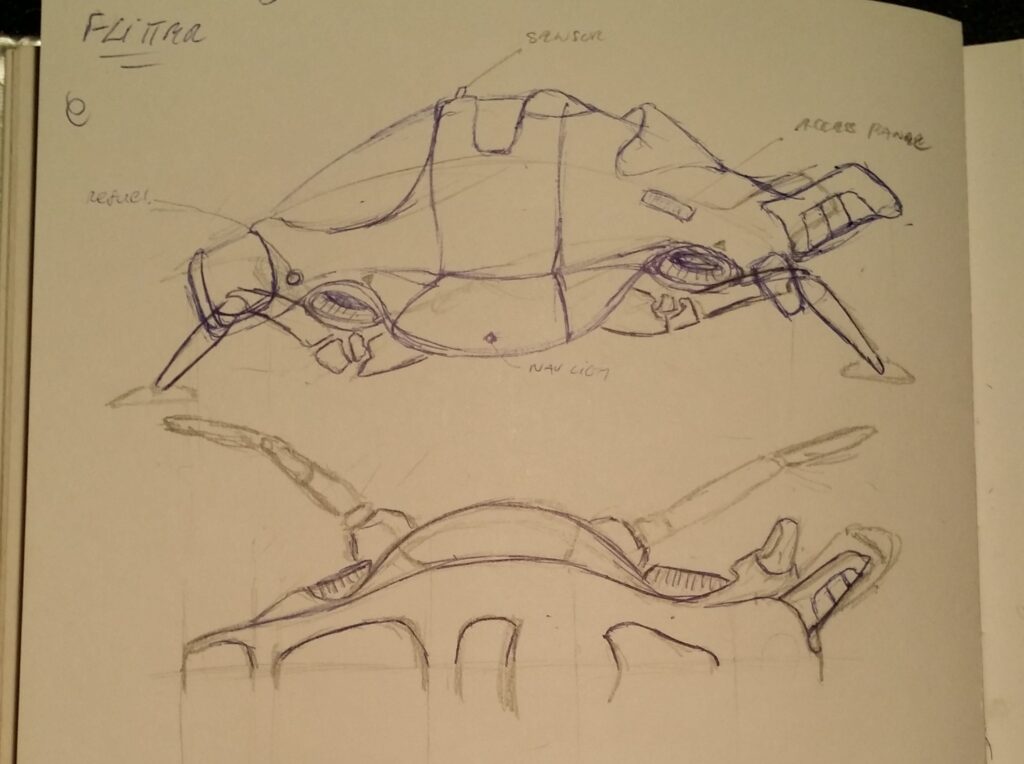
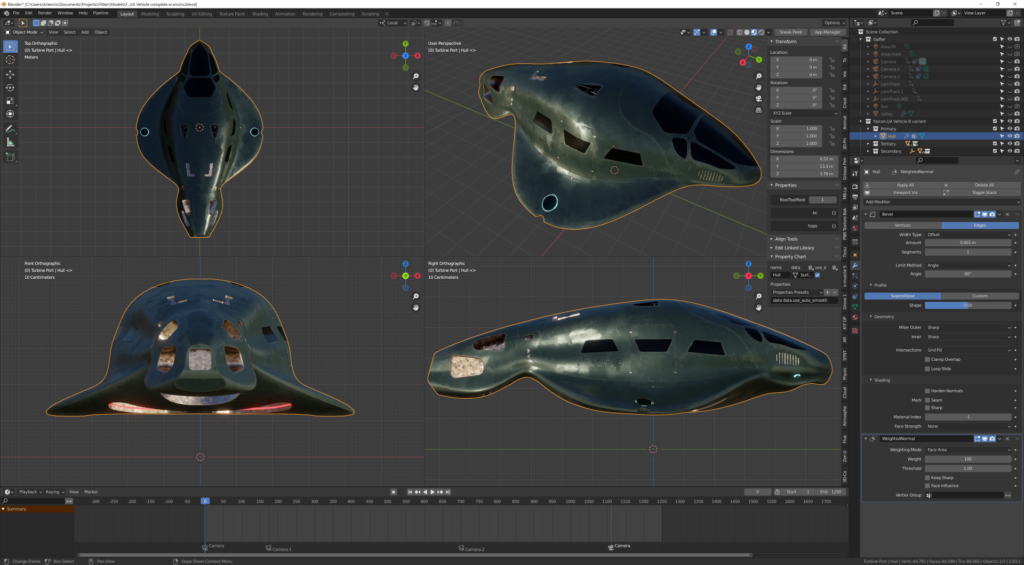
The project started with a sketch of an organic stylized atmospheric craft, that was a rough hybrid between the shape of an insect (Stage beetle) and a bird (hawk) – more insect than bird but something that gave the appearance of being manufactured despite the organic flow and contours
Early Days
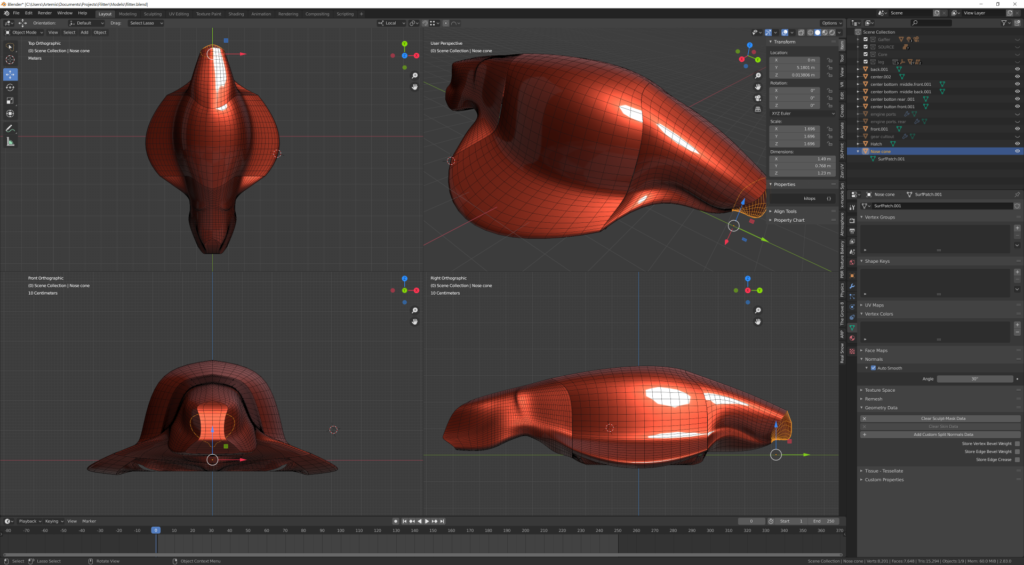
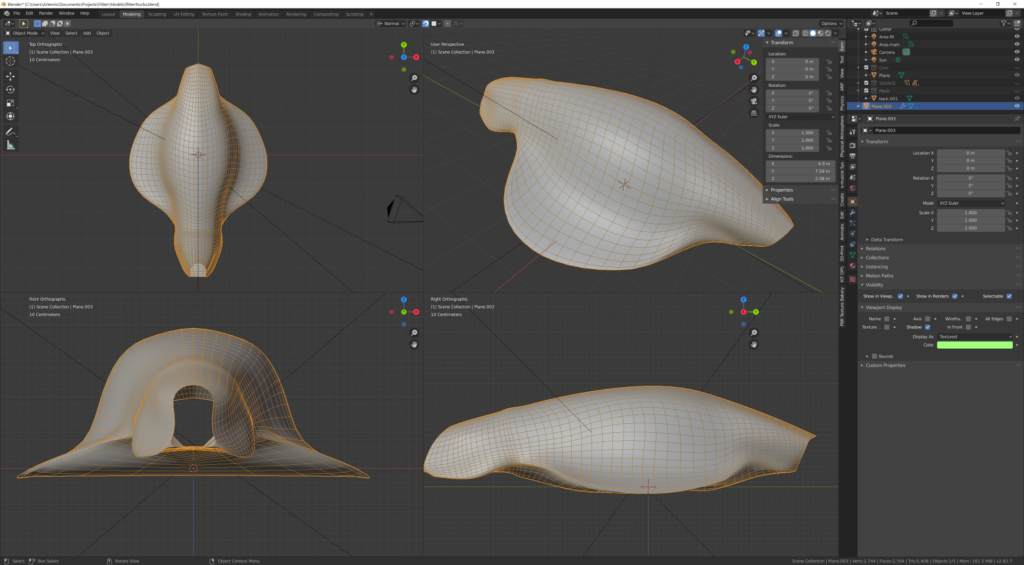
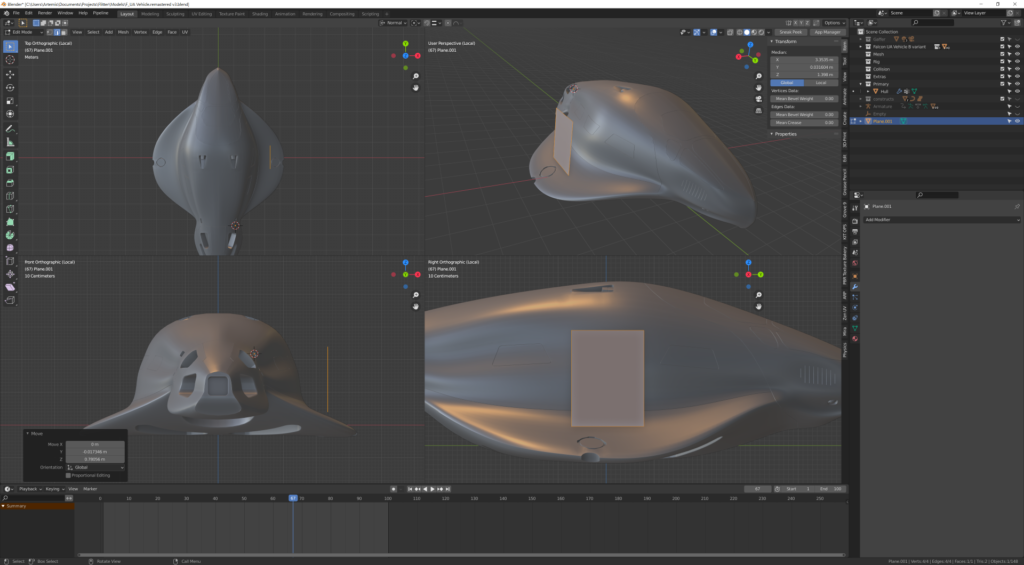
I started experimenting with a nurbs surface shaped like an upside down horse shoe stretched into a tube
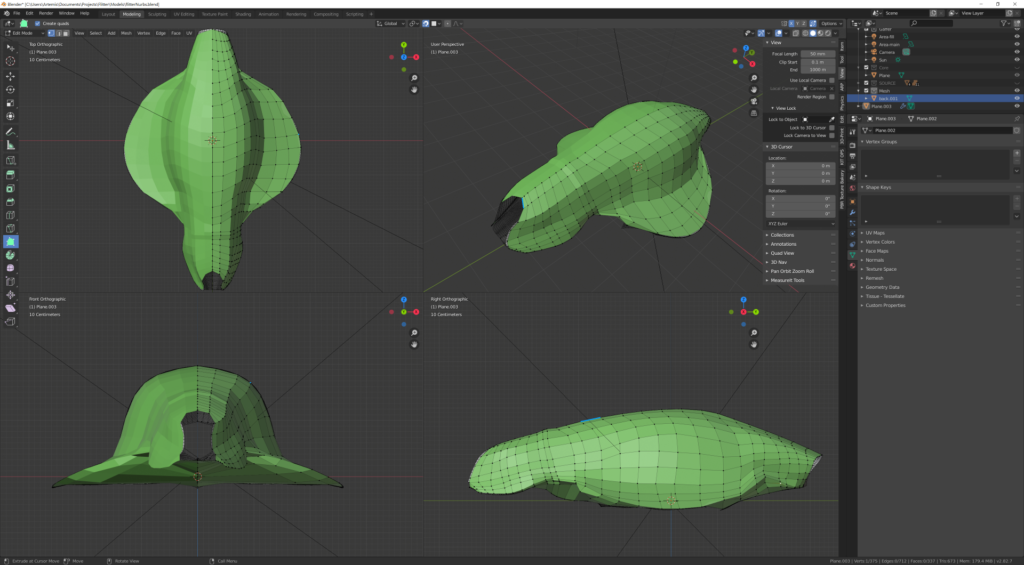
I thought it made sense to design the craft using separate sections as that would make it more consistent with real world manufacturing processes however this caused major problems when attempting to line up the edges of the different nurbs edges unfortunately hindsight is an amazing ability – which i didn’t possess in this case.
I like to switch between difference parts of the object especially if I encounter an issue in order to keep flowing
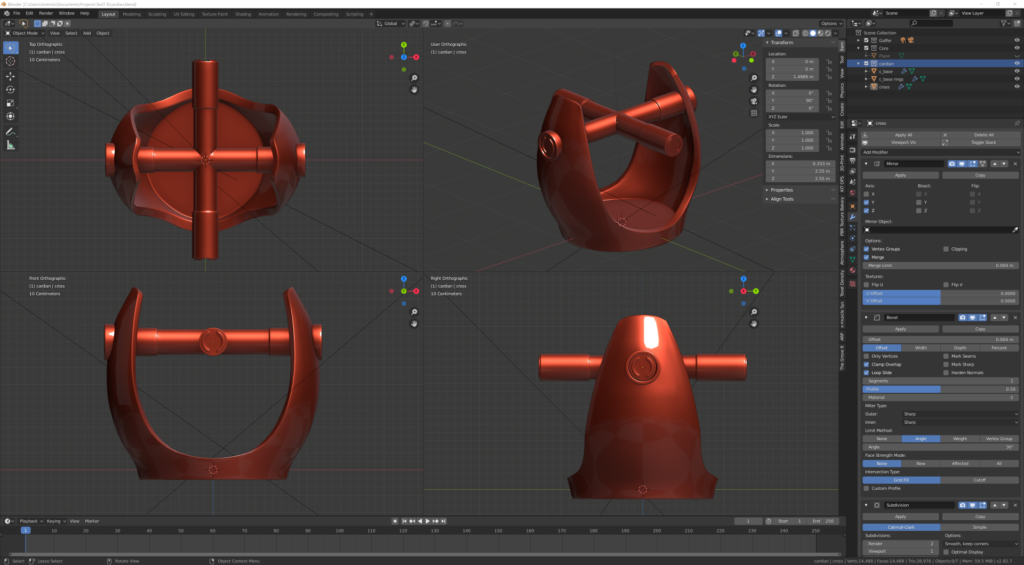
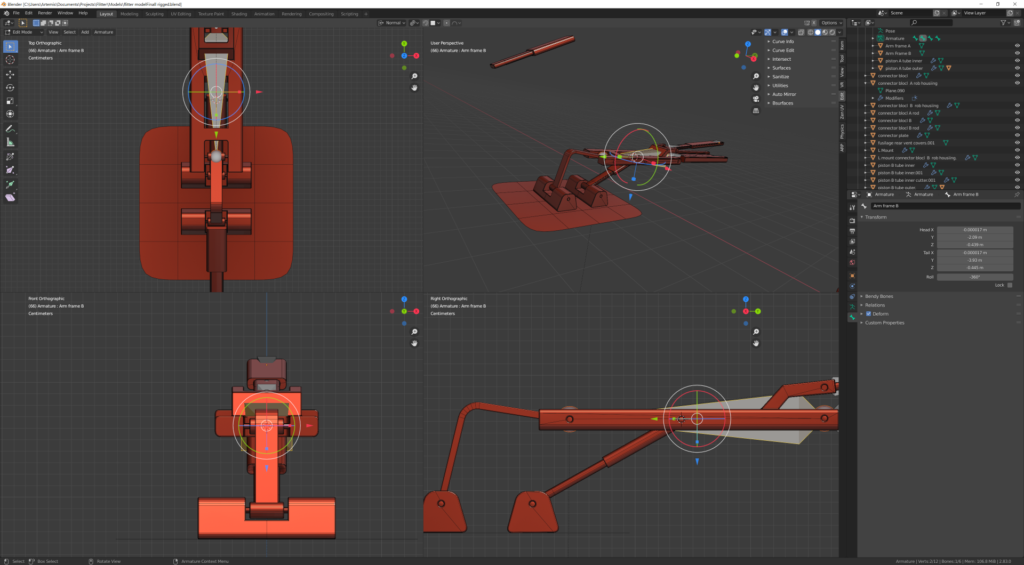
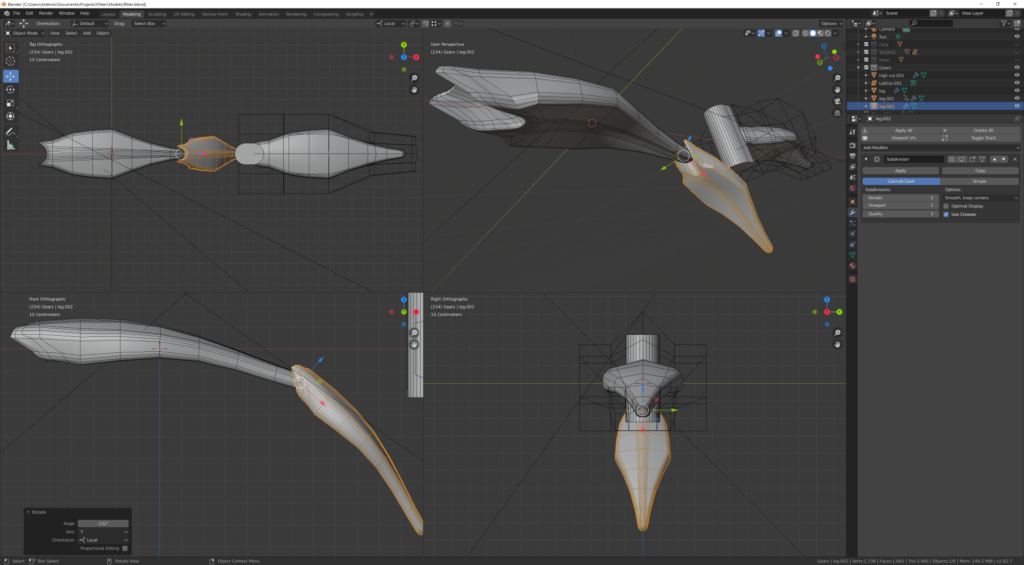
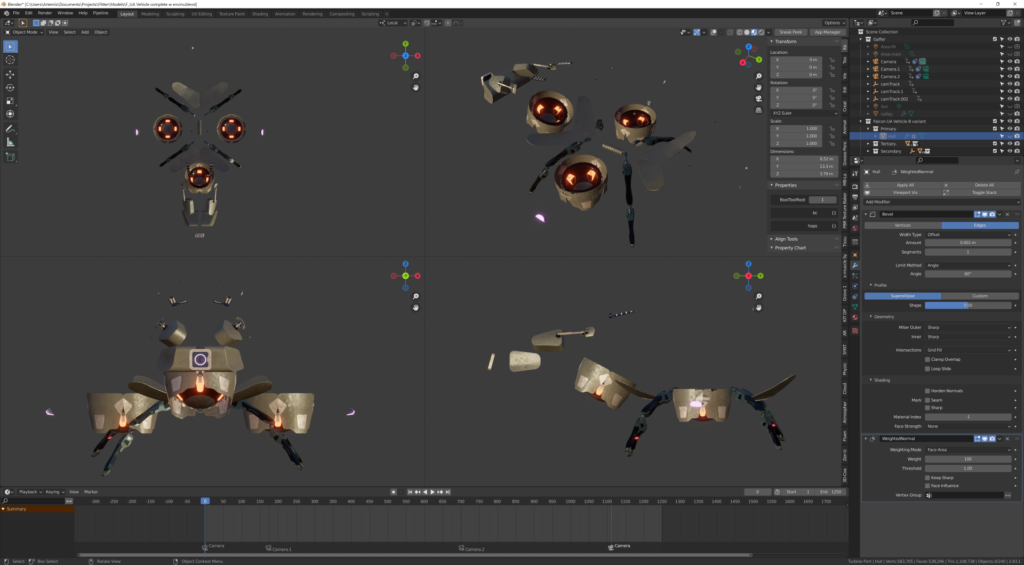
The craft is powered by a single engine that directs thrust to 3 vector nozzle outputs
Part of what makes an interesting design is mixing primary secondary and tertiary shapes. Blender has a nice option that you can use to assign a random color to an object
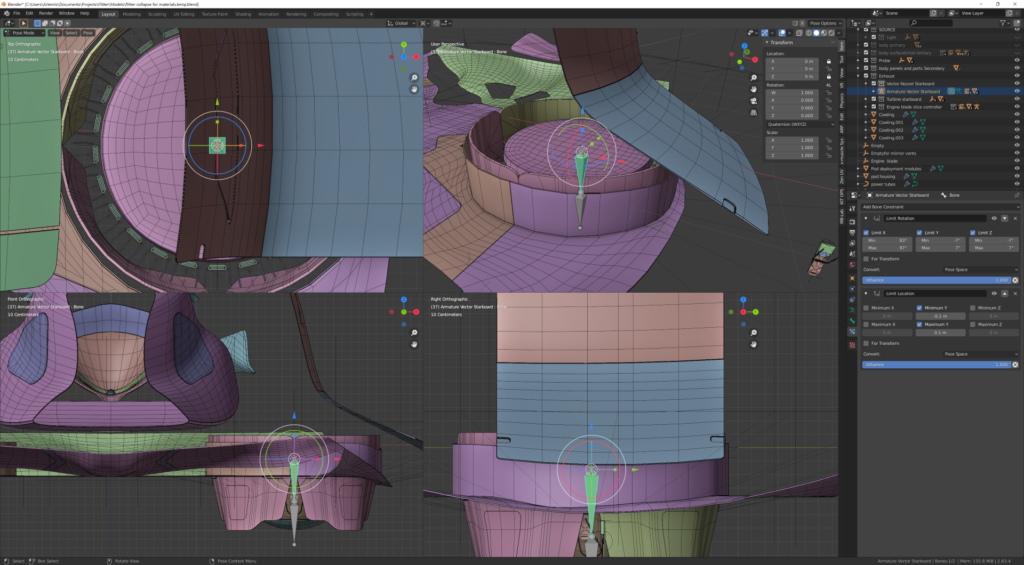
Admittedly I over designed several components because I didn’t know what camera shot I would end up using however, the time wasn’t wasted because I learned how to do mechanical rigging which was needed in other parts of the craft
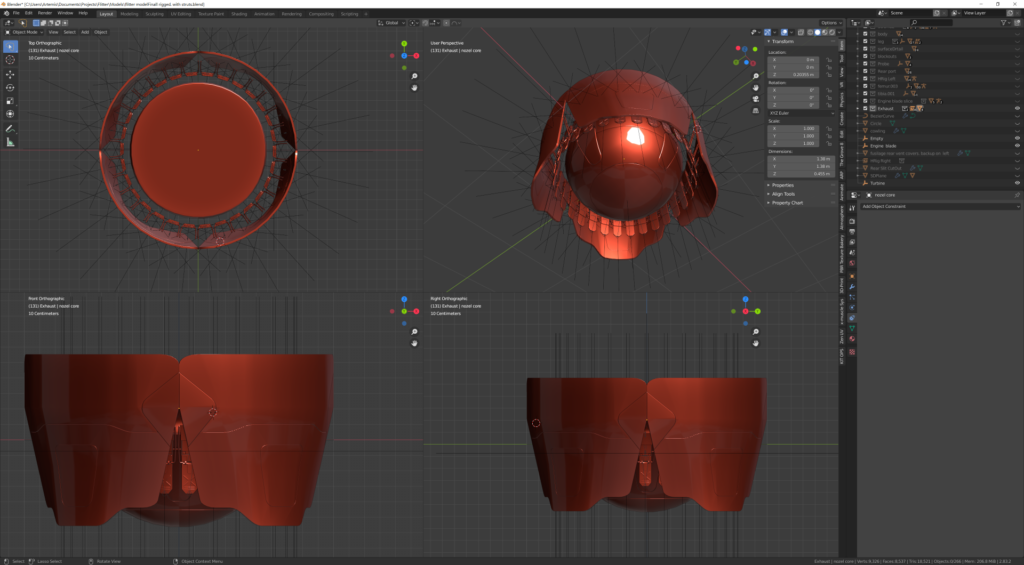
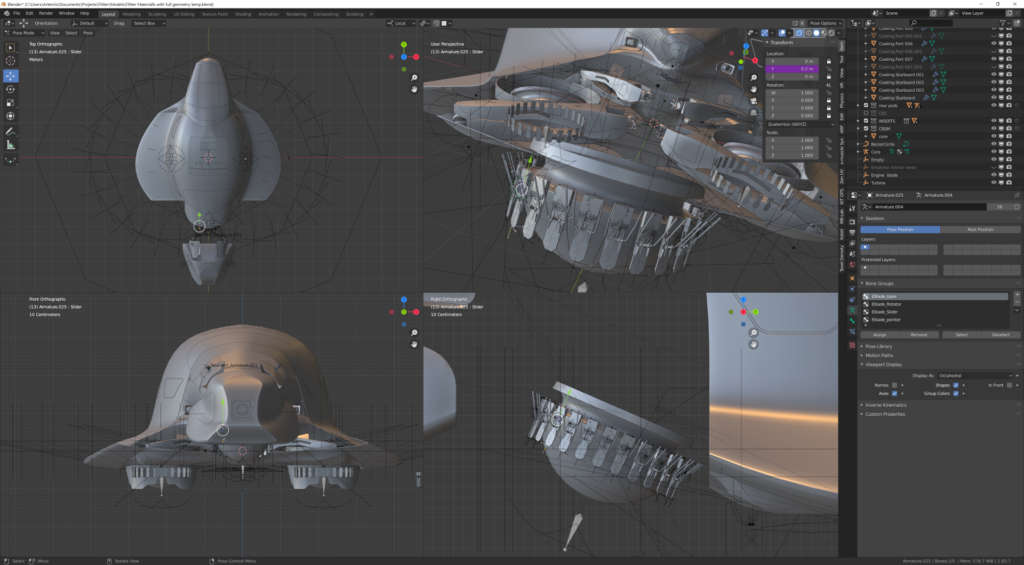
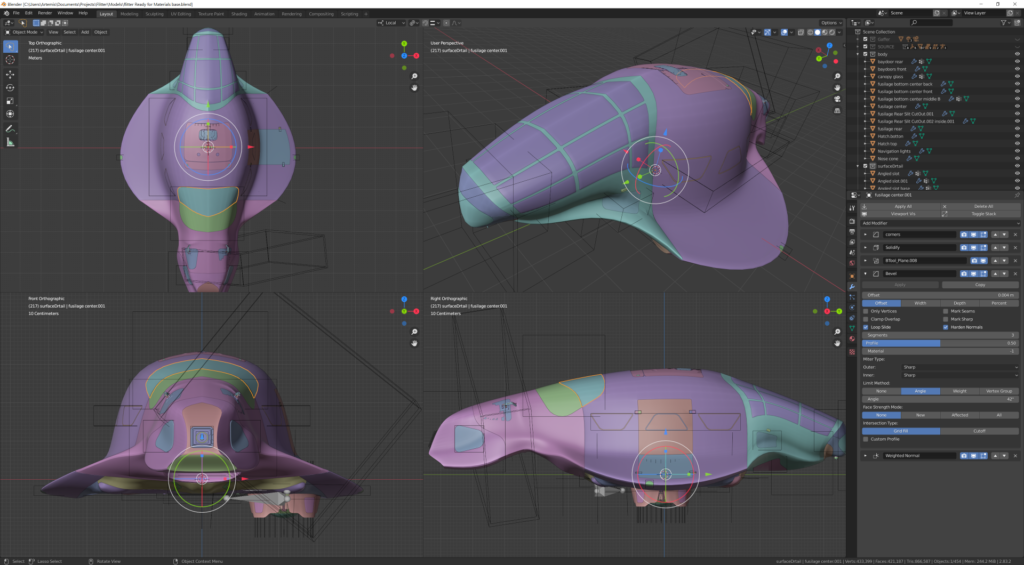
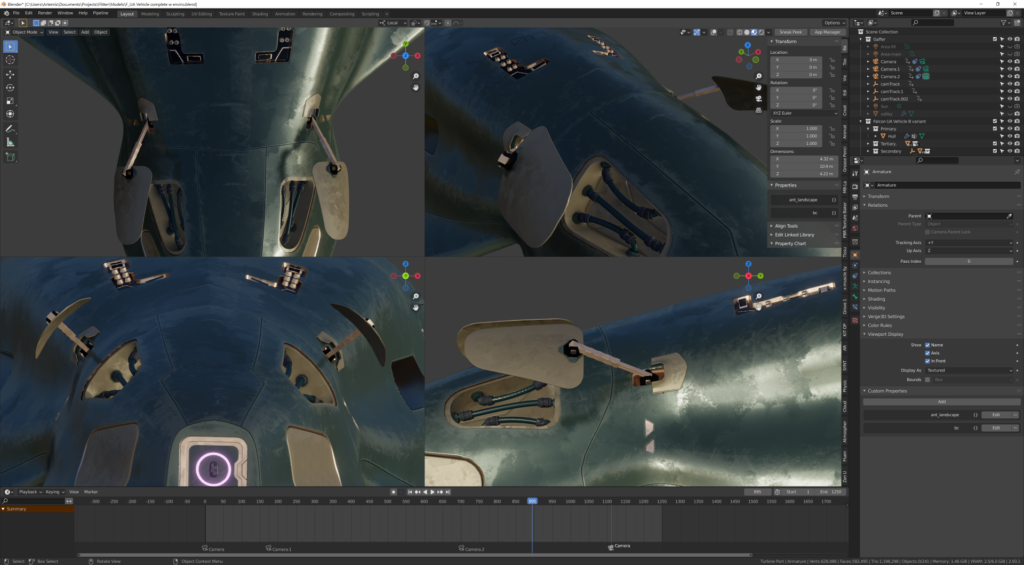
Once I was happy with the silhouette of the craft it was time to incorporate all the sub components placing them in their respective parts
This might hurt a little
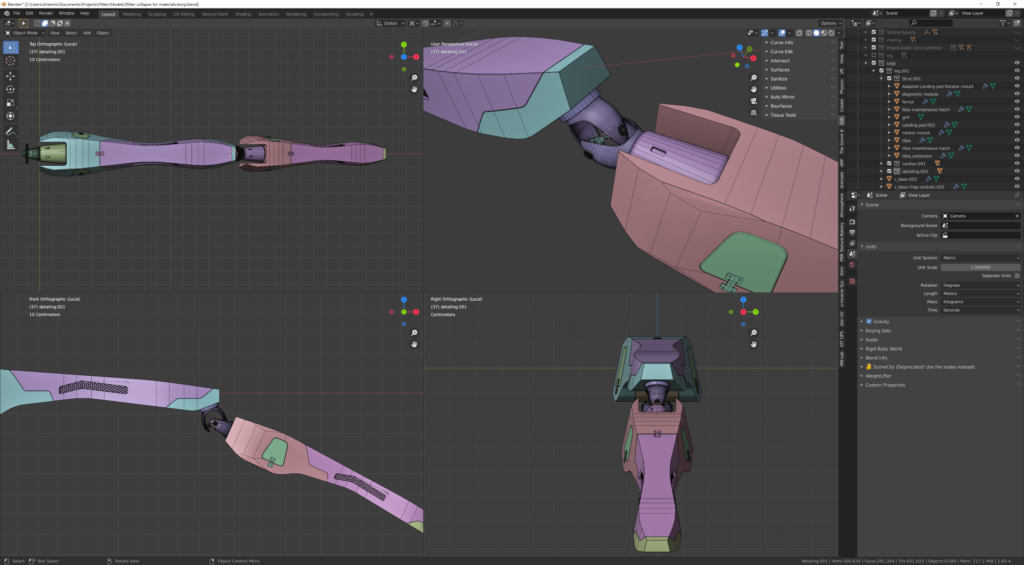
It was time to figure out how to deal with the disrupted hull flow. My solution was to create one singular hull using nurbs (as before) then use the knife project tool (after converting it to a mesh) to “slice” the hull into sections along with a very limited use of Booleans to actually cut out major holes to place components
Finally happy with the flow I took a break from the the hull to finish the components and design the landing legs struts. It took couple of attempts to get them right
The folding leg design was challenging and resulted in modifications to the hull shape because it wouldn’t fit into the hull! You can see in the original design the Legs were never designed to fold into the hull
A fine mess
The texturing was done in Substance Painter after a horrendous time with trying to pack UV’s into a single island because I was wasn’t sure about going the UDIM route. At the same time trying to understand what ‘texels’ are. The mess I made due to my lack of knowledge about texels, stacking uv’s for identical object really messed me up to the point I actually didn’t even open Blender for about a week.
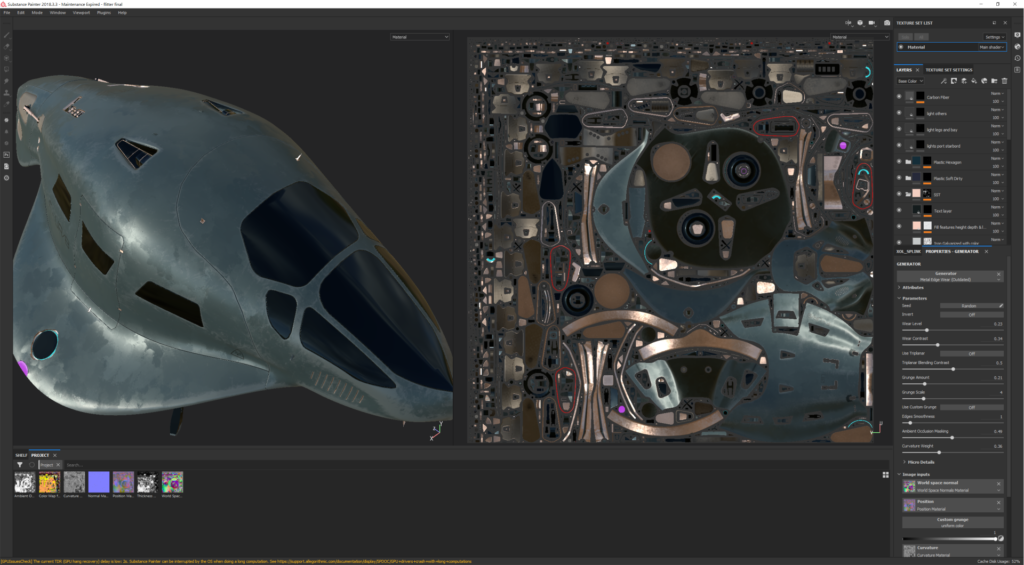
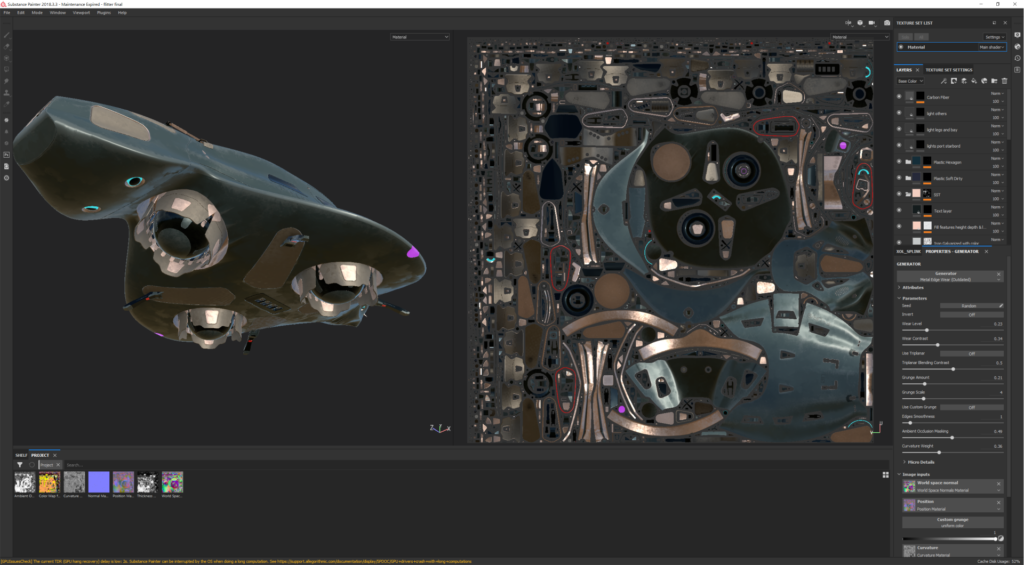
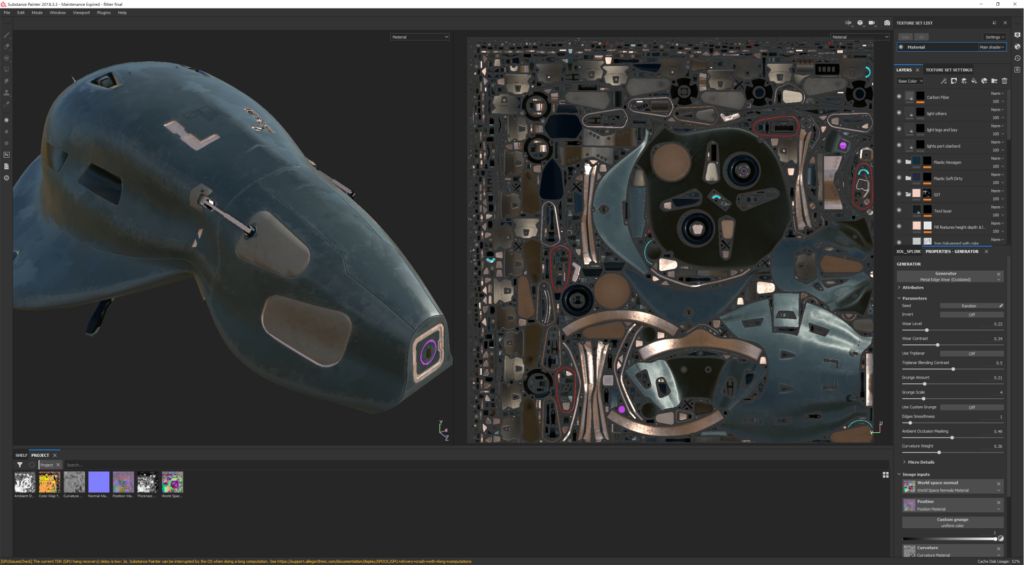
After importing all the PBR materials it was fairly straight forward wiring it up
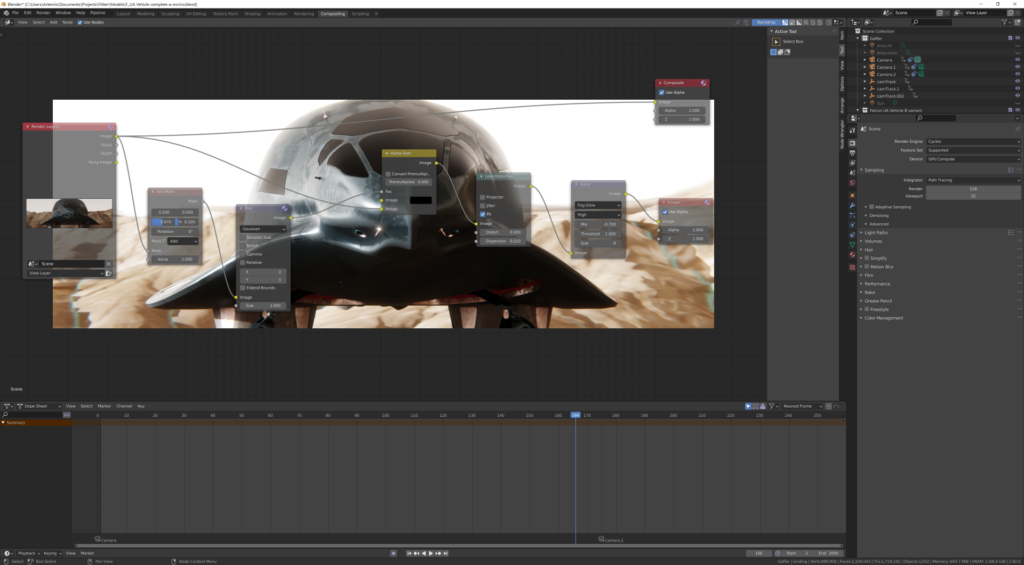
For the render output I wanted to give it a cinematic look so I used added various effects using the Compositor
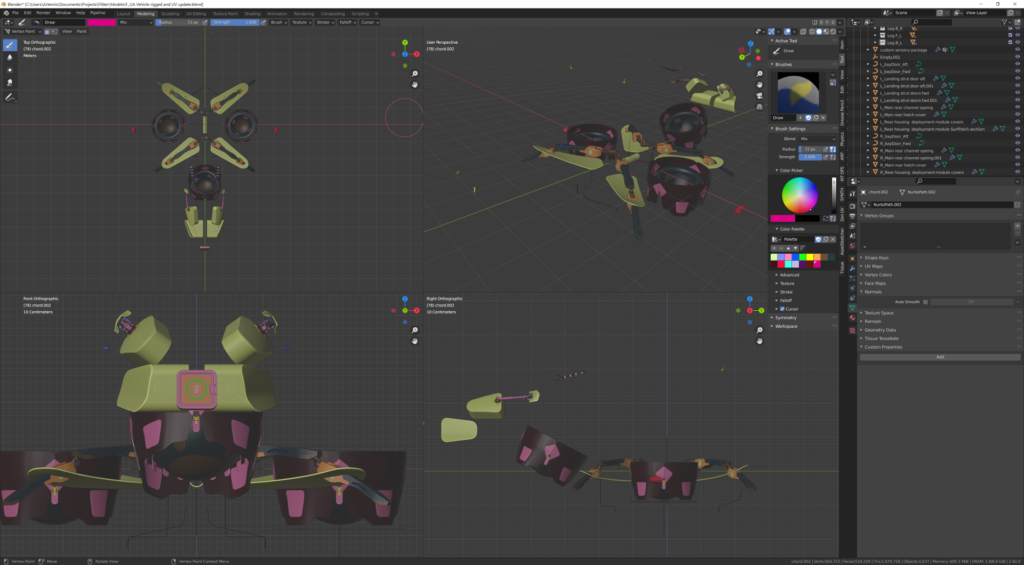
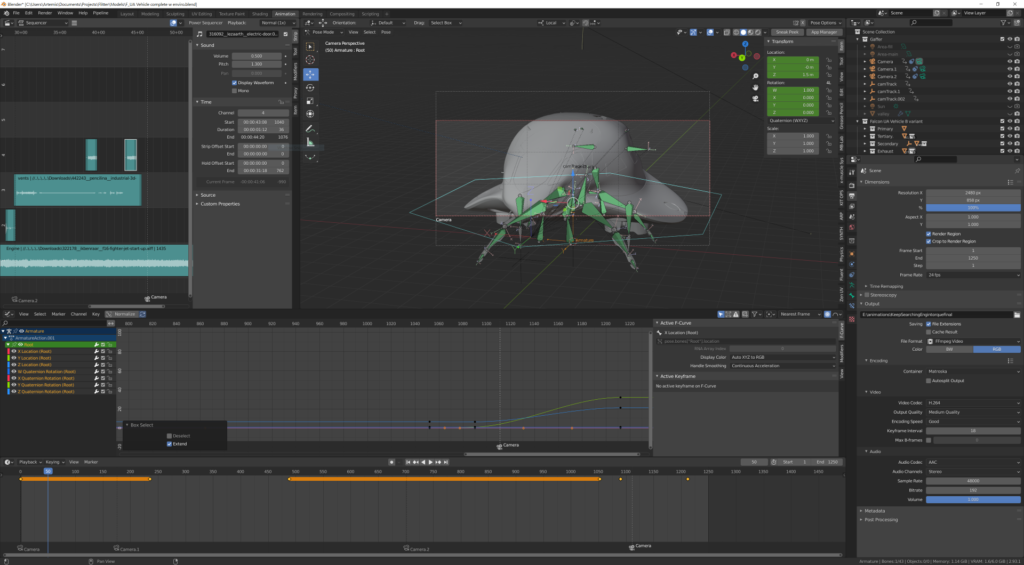
The final bit of the project was of course the animation which went fairly well only because I spent time studying ‘hard Surface Rigging’ by Jeannot Landry which really made the animation part easy. It was worth every penny.
Ending thoughts
This project was a journey well into the deep end: Was it stressful at points – yes; was it fun – oh absolutely!
I’m so glad I kept going because the sense of reward beat any of the pain points you encounter. I found solutions to almost all the technical challenges encountered and some others were actually none issues due to the final camera shots and angles used.
There were still a few things I would have liked to improve but I set myself a time frame so making every shot and object perfect wasn’t a tenable position. Plus that added time crunch forces you to think more creatively and produce workarounds that one probably wouldn’t have thought of.
Anyway I hope this short blog inspires someone on their journey and if you have questions (or tips for me!) just send me an email
Stay curious and ignore the distractions and the people that say you can’t!